Is there anything cozier than a candle on a cold day? Probably a fireplace, but we don’t have one in the office.
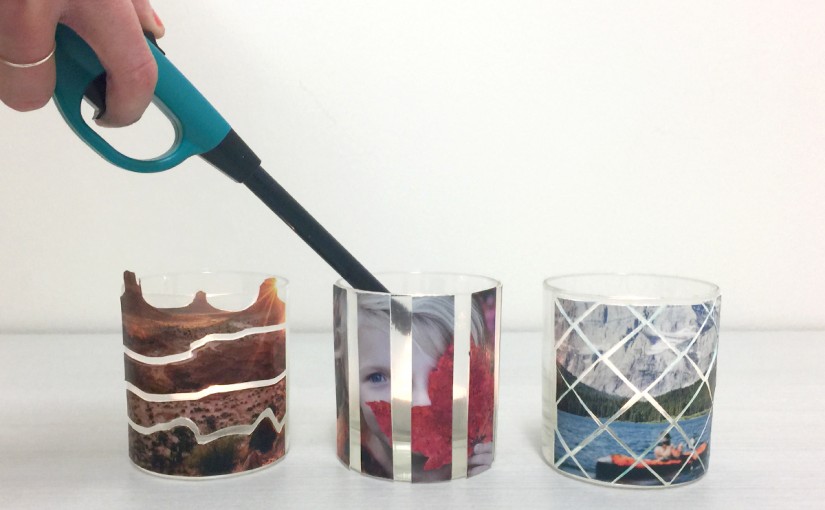
How about a candle surrounded by your favorite memories in photo form?
Now that is a coziness bonanza, and it turns out photo candle holders aren’t very tough to make! Grab the Mod Podge and follow us for a step-by-step how-to (hyphen-party!).
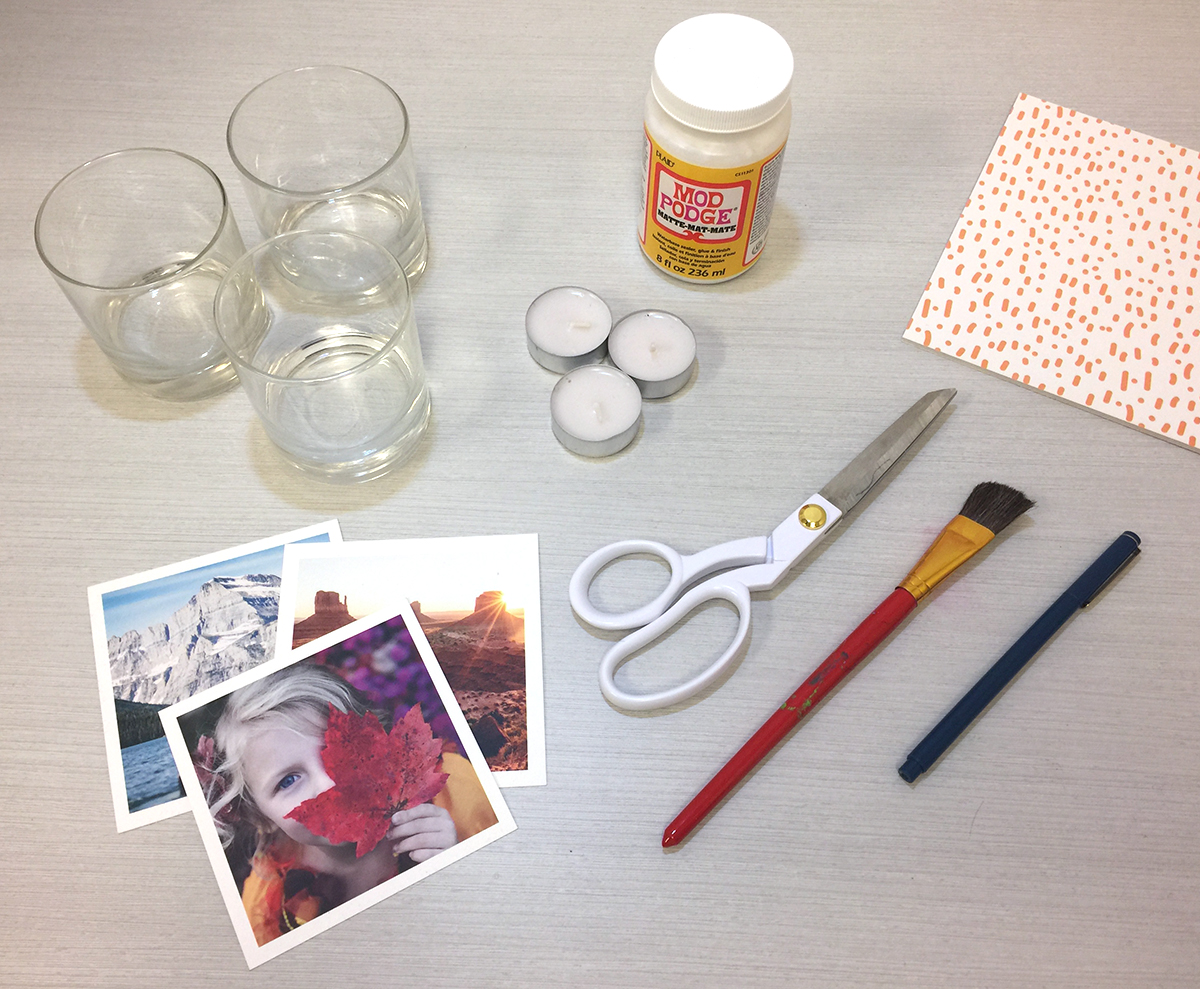
Ingredients:
Candle Holders (or small glasses)
Photo Prints (order a set of Square Prints here)
Candles
Pen or Pencil
Straightedge
Scissors
Mod Podge (or use white glue in a pinch)
Paintbrush
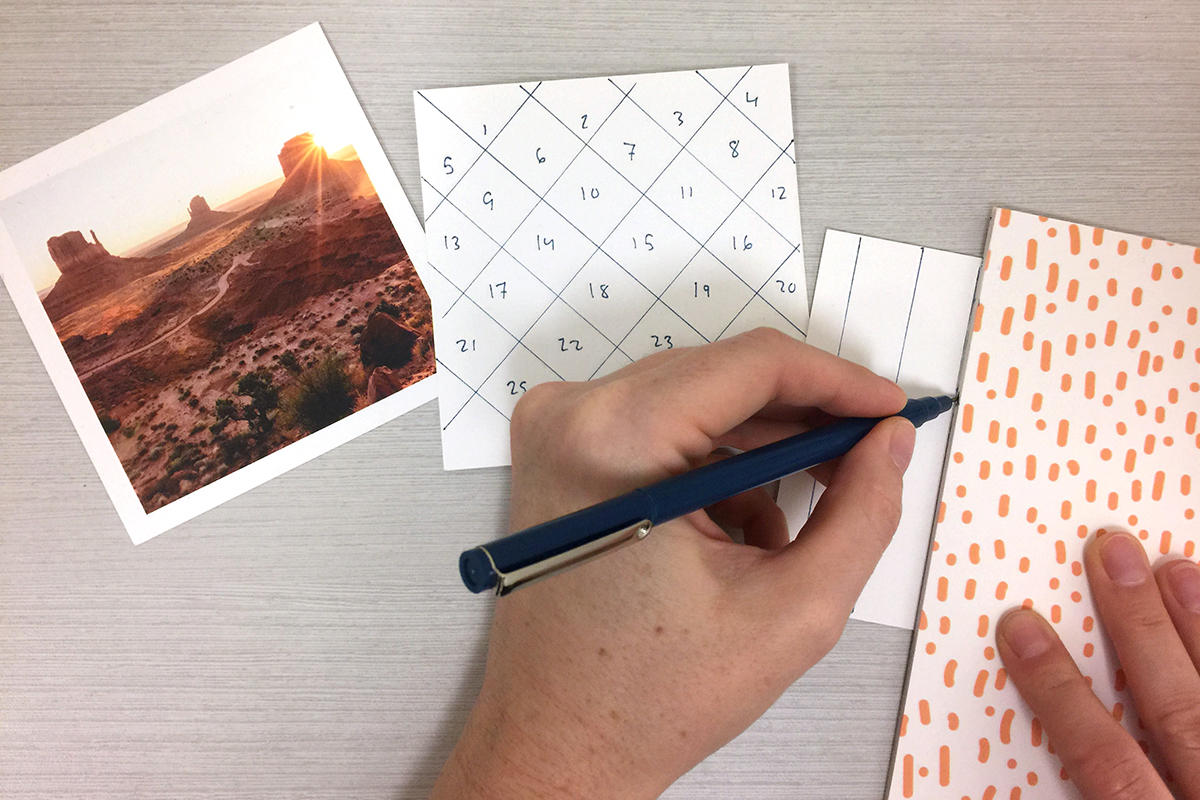
STEP 1: DRAW A PATTERN
Get creative right out of the gate. You can go as simple as stripes. Or, stripes in two directions (that’s how we made that diamond looking pattern).
You can always freestyle it! We followed the lines of this beautiful canyon view for a more organic feel.
Draw on the back of the photo, so your marks don’t show up on your final candle holder.

STEP 2: CUT IT OUT
Get out your scissors and get to snipping.
We found it helpful to number the pieces of our more complicated pattern, to make sure we kept every little piece in the right place.

STEP 3: PAINT AND STICK
Use the paintbrush to slap some Mod Podge onto the back of your photo pieces.
Stick them all into place on your candle holder and then put a final coat of Mod Podge over the entire photo.

STEP 4: LIGHT IT UP
Put your candles into your holders, fire ‘em up, and enjoy your creation!
Photo candle holders make perfect party centerpieces (featuring the guest of honor) and great I-love-you-so-much-I-crafted gifts.
Show us your photo creations using #parabopress. We love to see what you make with your prints.

